

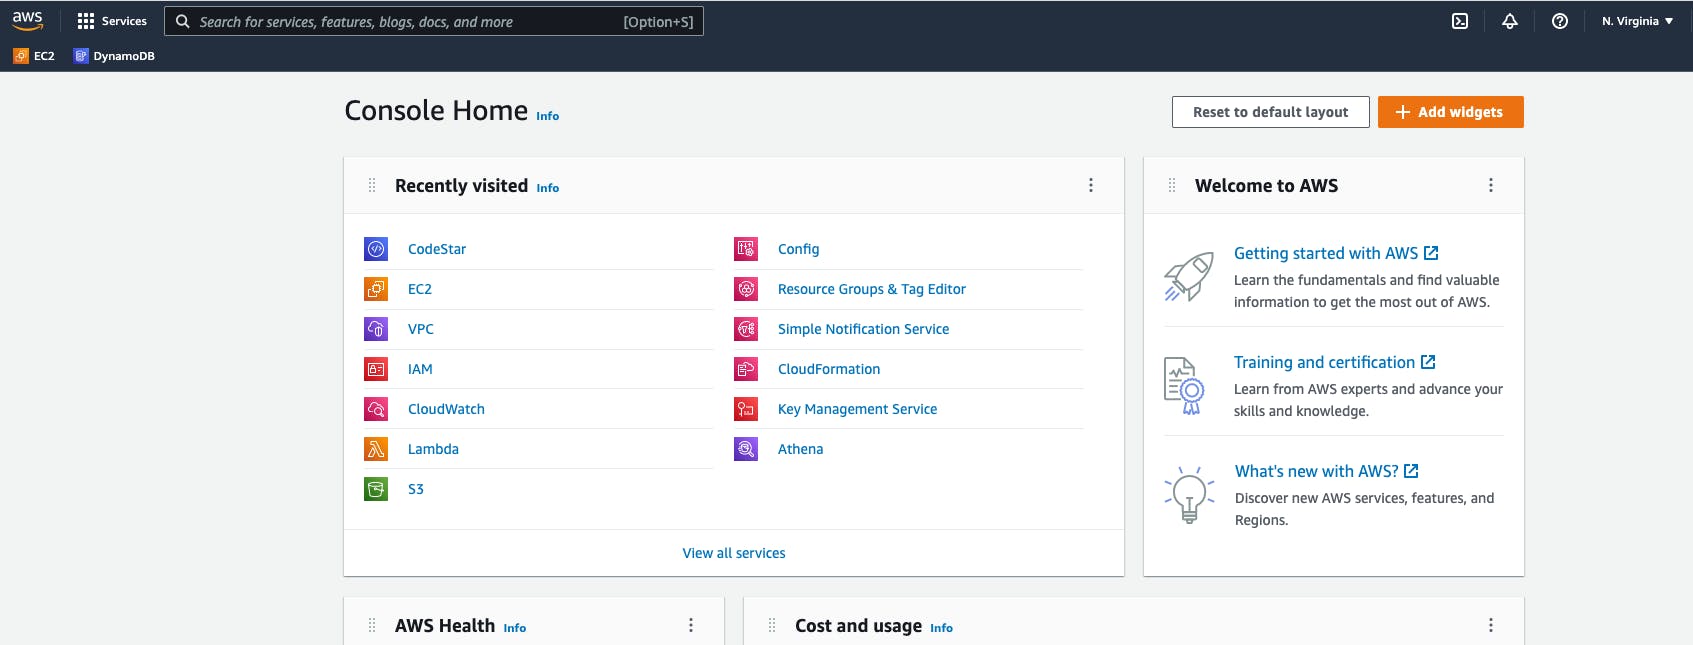
In this blog let's explore the basics of DevOps CI/CD Pipeline in AWS using CodeStar, without further delay let head over to the AWS console. If you want to do this hands on you will need an AWS account, you can create one and all the resources we create as part of this, will be included in the free tier. So let's go the AWS console. As soon as you log in to the console you will see a page like this one.
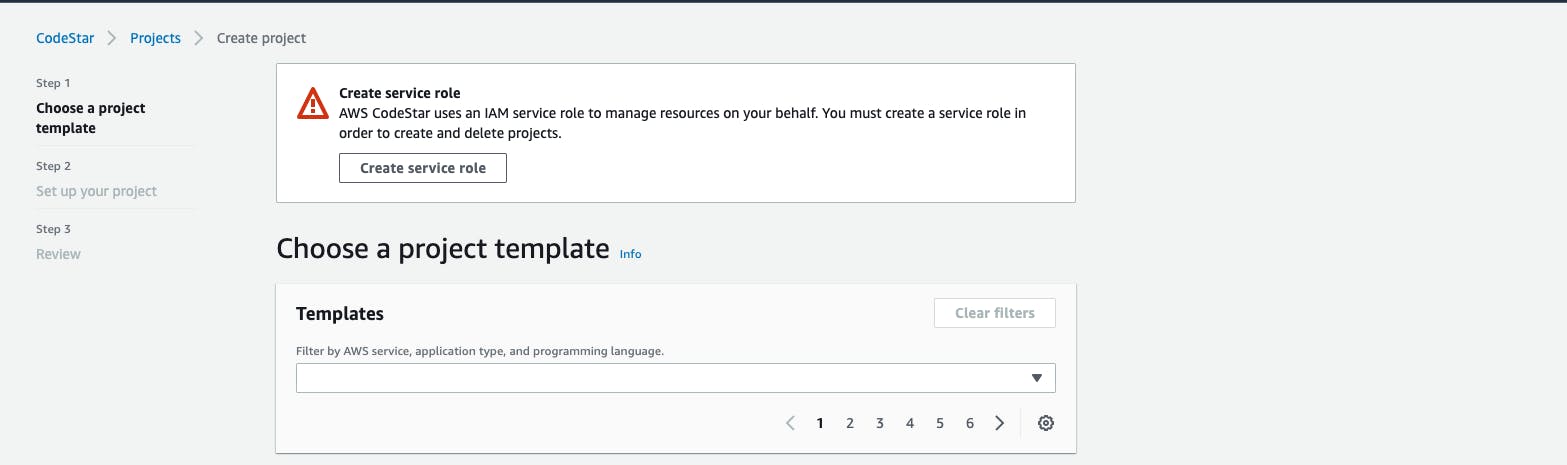
In the search bar type CodeStar and go to that service, then click on Create Project, once you are on the create project page it will ask you to create a service role, the dialog will also tell us why we need a service role. hit the create service role button.
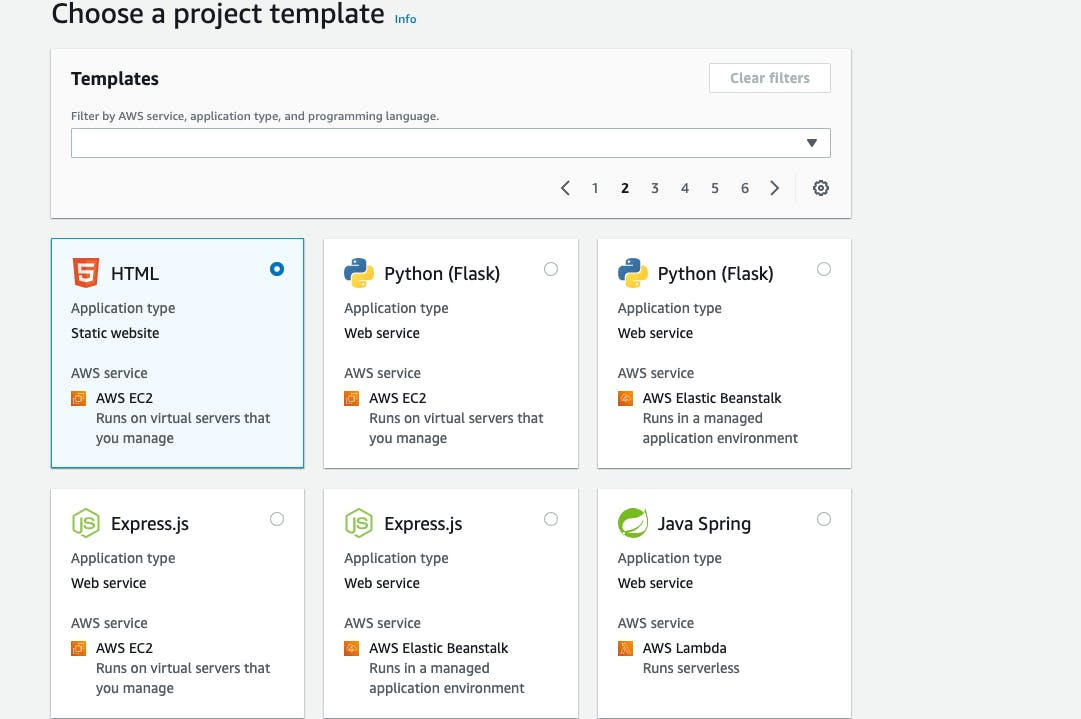
 Now we need to select a template from the available templates, as this is a basic dig at CodeStar we will select one from the available template, this might change based on your needs. Now let just select static HTML website template, hit next
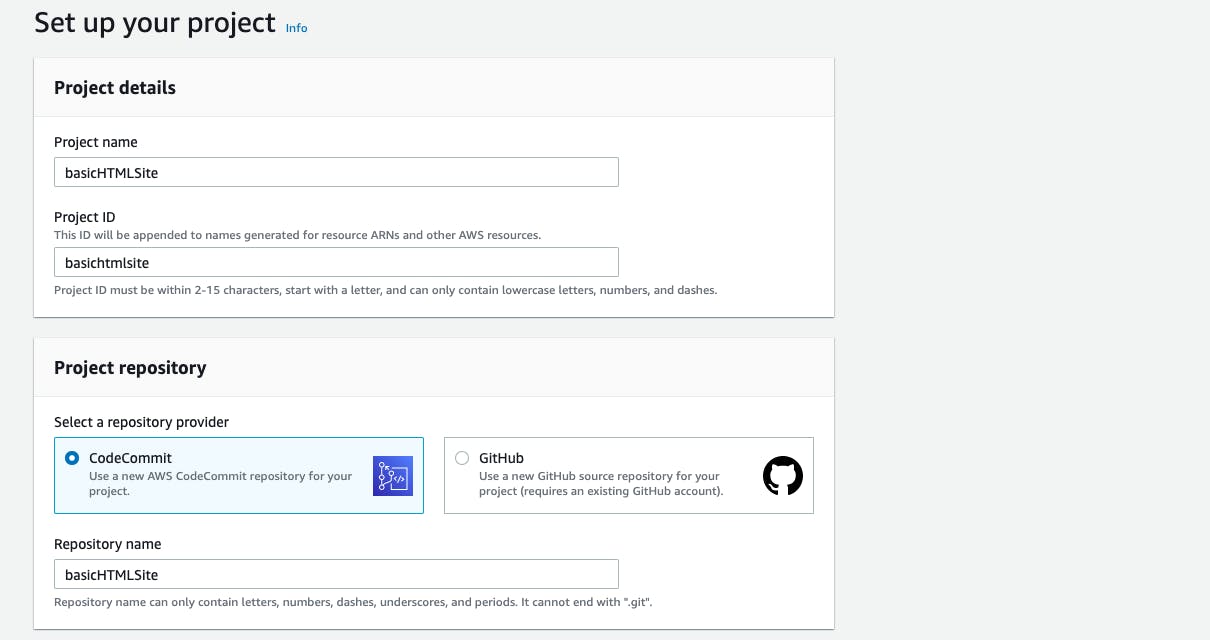
It will ask you for project details like project Name and etc... as soon as you start filling the project name few other fields will be auto filled. Here for the project repository you can select either CodeCommit or GitHub, I am selecting CodeCommit which is a default, but if you already have a GitHub account and have source code in the repo you can use that and hook CodeStar to your GitHub repo. Since i don't have my code base yet, CodeCommit will create one based on the template I selected in the previous step.
Now it's time to configure our EC2 instance, so basically what CodeStar will do is provision the EC2 instance for you and host the application for you. we will choose t2.micro as our instance type which is a basic machine and is enough to host our static application this is also come under the free tier, but choose the appropriate machine based on your application needs
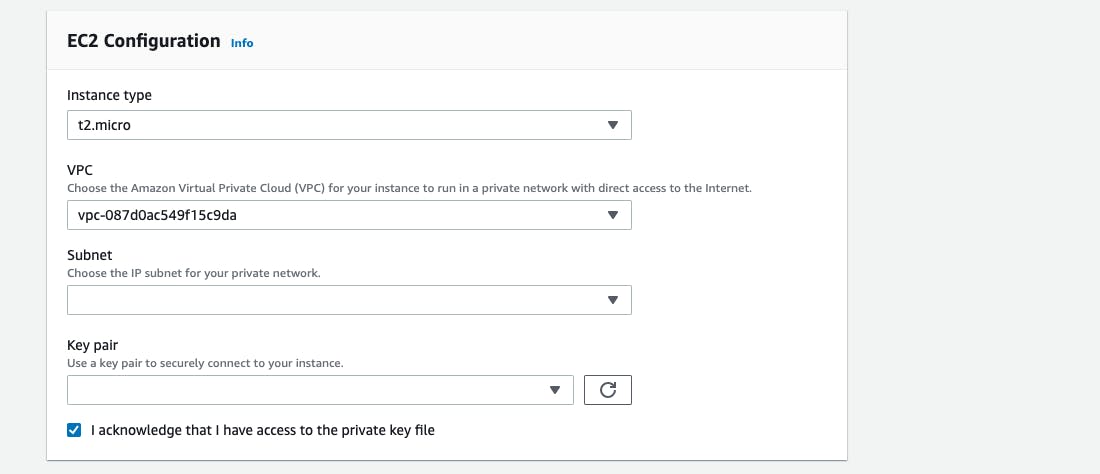
Here we need to create a key pair, this will not be used by CodeStar, but in case if you want to connect to the EC2 that is being created in this step we need the key pair. Now lets head over to the EC2 service and create a key pair, search for EC2 in your search bar and open it in a new tab, on the left hand side under Network & Security you will see the key pairs option click on it, when you are on that page on the top right corner you will see Create Key pair button click on it, give it some name and leave the rest of the options as default and hit create. Now go back to the CodeStar window and hit a reload button the key pair section, the key pair we just created will be auto filled. Now hit next
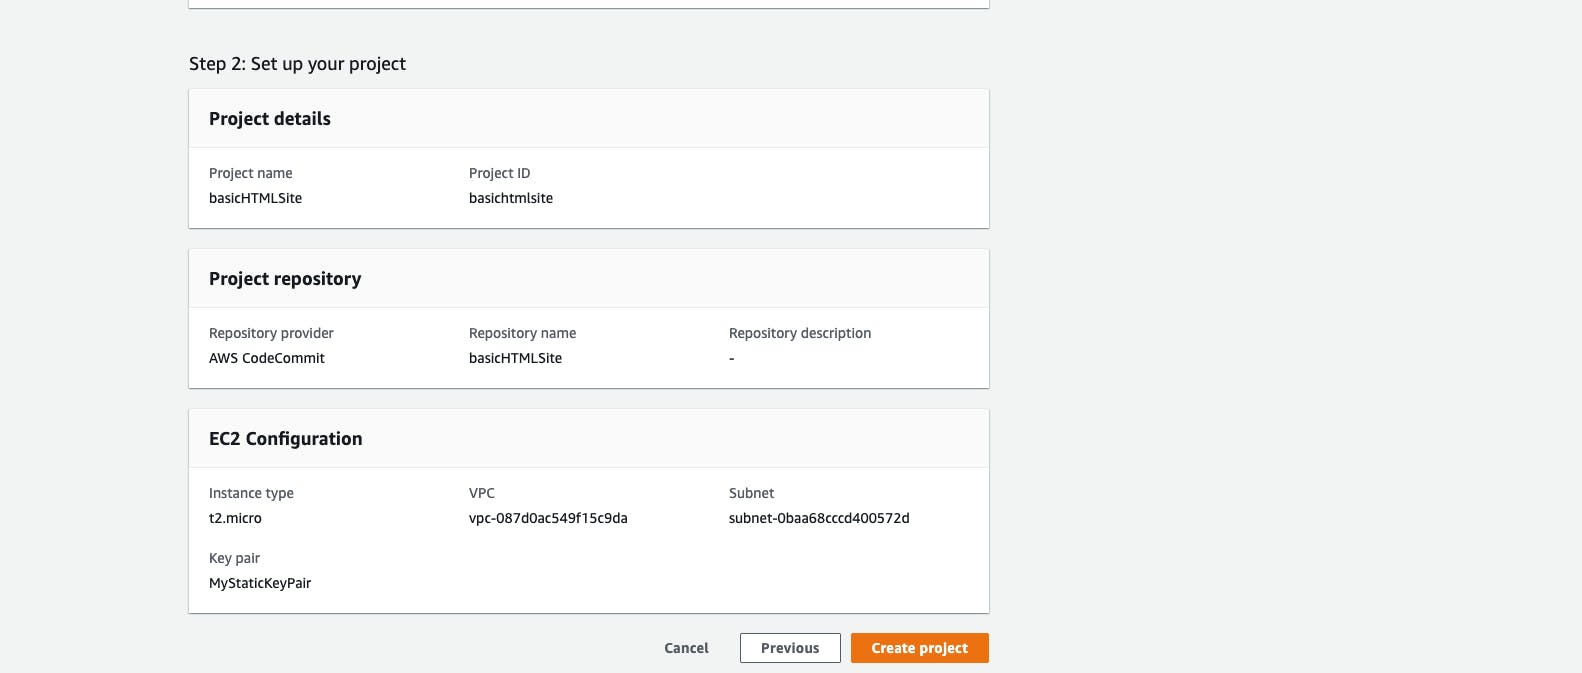
Now hit create project, it now uses few other services to provision resources and deploy your application.you can view all the resources created and see the events as they happen on the CodeStar UI.
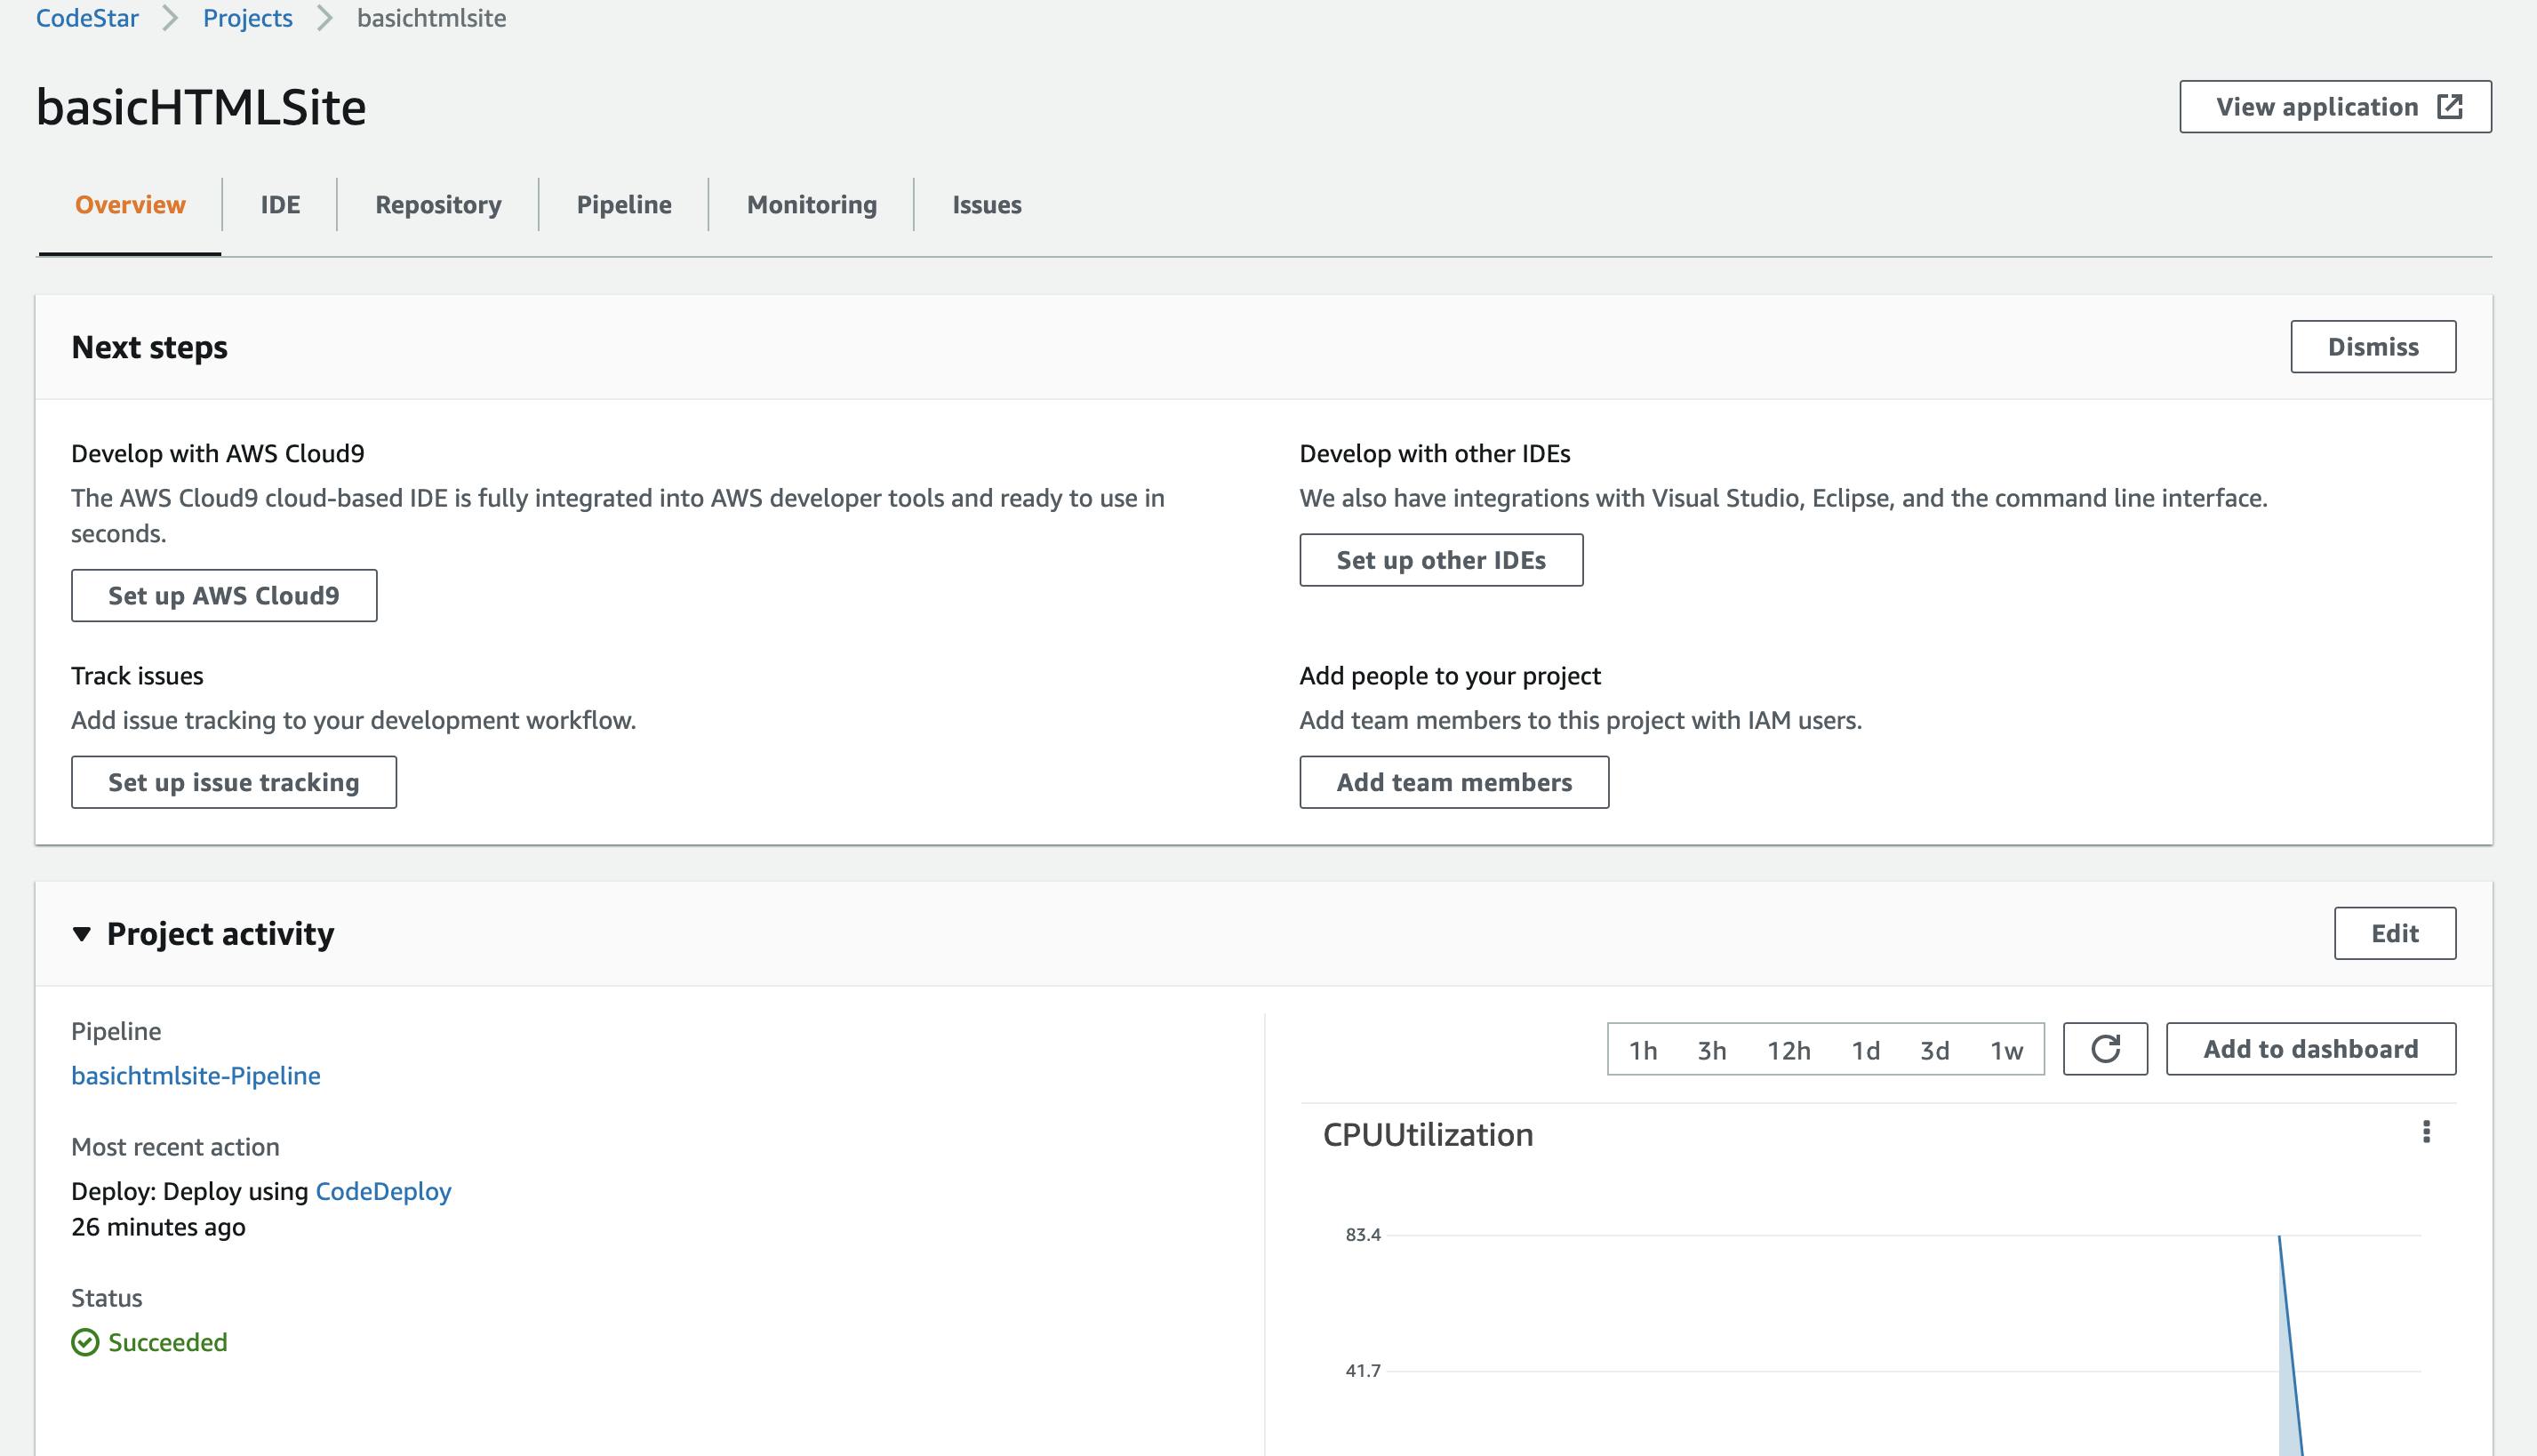
We can now visit the application by clicking on the view application on the top right corner, if we want to update the application we have a lot of options, we can use the online cloud9 IDE provided by AWS or we can download the code by connected to the CodeCommit, I will cover about CodeCommit and how we can continuously integrate and continuously delivery the code in next blog.